2020-05-27 By Admin
DIY cabinet refacing. Sound intimidating? Well, it really shouldn’t be the case. In fact, you don’t need a high level of skill to do the project. And, it’s a fraction of the cost of installing new cabinets. Plus, you can customize them to your liking. It just takes a few simple and common hand tools, a clean and comfortable workspace, and a little bit of imagination. That’s all you’ll need for a DIY cabinet refacing.
About DIY Cabinet Refacing
What you should know about kitchen cabinet refacing is that it’s not always a viable option. There are certain materials which just aren’t conducive to such a transformation. For instance, some types of wood don’t respond well to different types of paint color. Of course, if the cabinets aren’t made of wood, you’ll likely be unable to reface them.
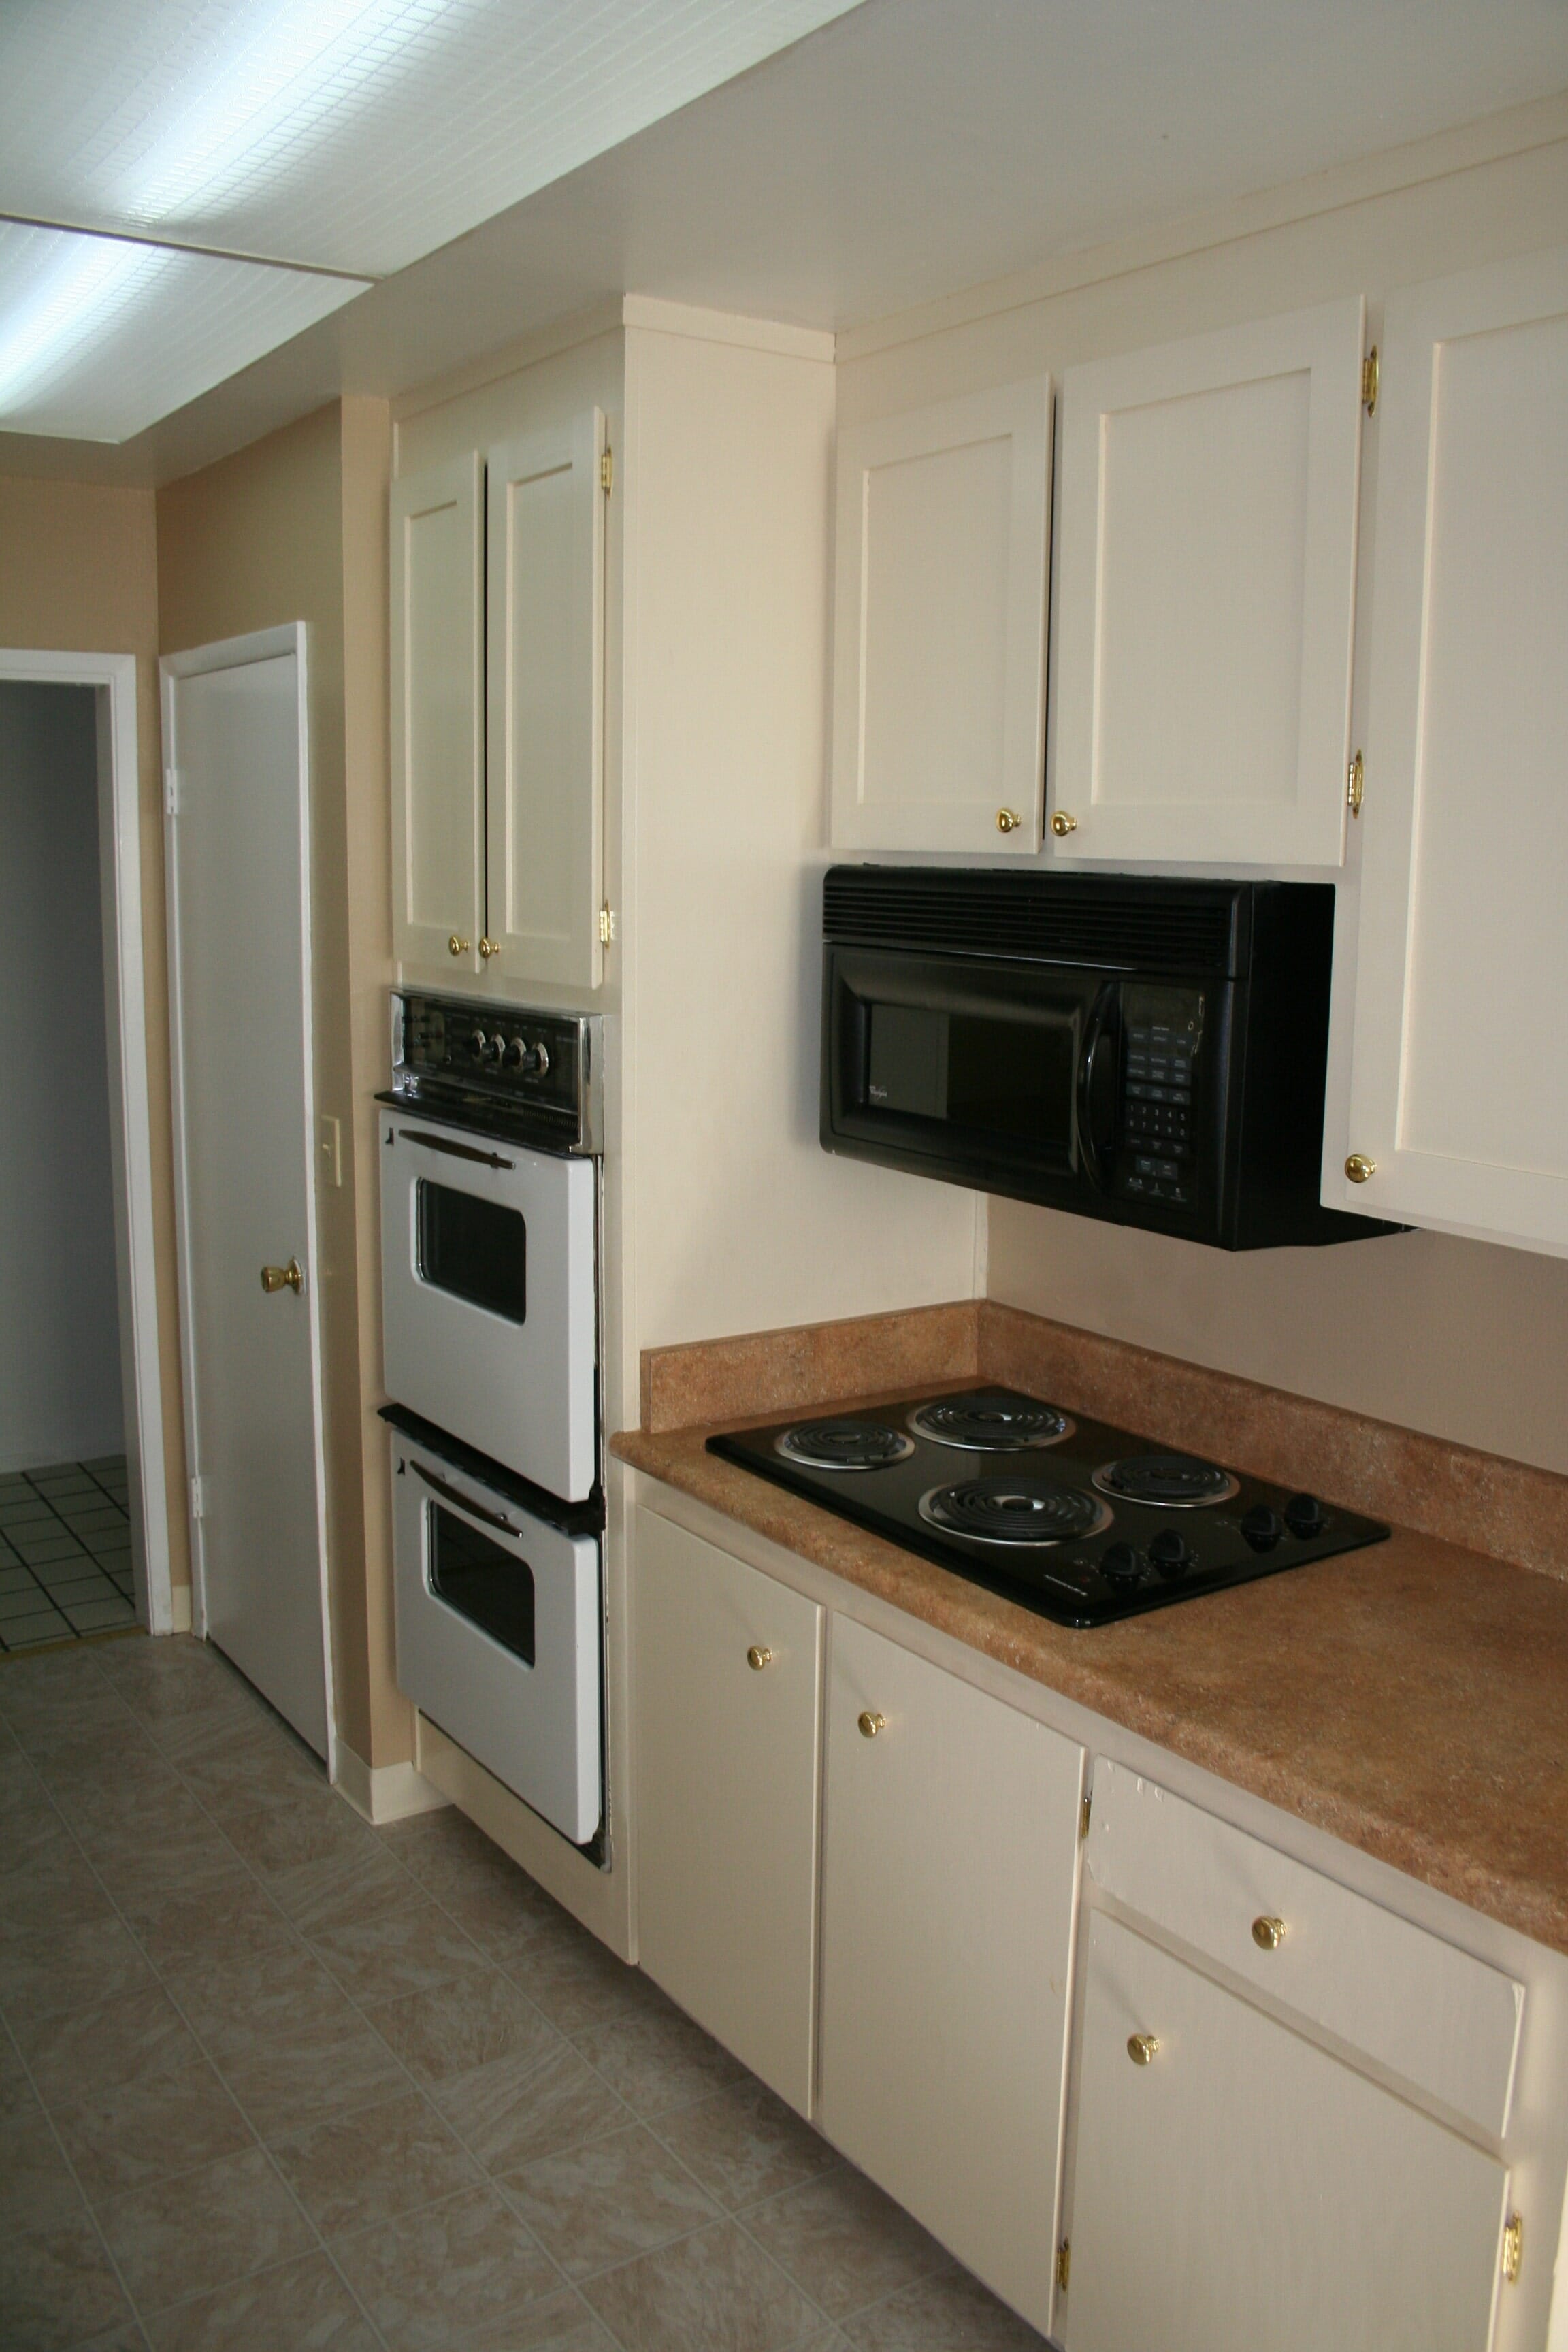
Refacing your kitchen cabinets includes covering the exposed frames with a thin veneer of real wood or plastic laminate. Doors and drawer fronts are replaced to match or complement the new veneer. New hinges, knobs, pulls, and molding complete the transformation. --House Logic.com
But, you can also replace veneer or plastic laminate. However, these two require experience and the right equipment. So, if either of these are in your kitchen, you’re farther ahead to just switch them out. But, if the cabinets are wood, you can give them a new lease on life without much of a fuss.
- Gather your tools and materials. You’ll need a drill-driver or screwdriver, pliers, plastic cups, eye protection, dust mask, paint drop cloths, sandpaper, primer, paint, roller or spray gun, and scrap wood. Plus, you’ll also need new hardware, such as hinges and pulls.
- Remove all hardware. The first step is to remove the doors and the hardware. Put these items aside for later use, be it to return to the cabinets themselves or for something else.
- Sand and prime the wood. Next, you’ll sand down the cabinets and the doors to remove the old paint. Once sanded, you can then apply a primer, following the manufacturer’s instructions.
- Brush on a coat of fresh paint. Once the primer dries, it’s time to add the first coat of paint. Allow it to dry, then add another coat of paint. Once it’s dry, add a third coat of paint, if necessary.
- Replace the hardware and rehang. Once the paint dries, you can then delicately replace the pulls and hinges. With the new hardware attached to the doors, rehang the fixtures in your kitchen to finish.
If you just need remodeling debris removal in Ashland or elsewhere, go ahead and phone 510-256-5114 or visit Pro Junk Dispatch.
Filed Under: Company News
PRO JUNK DISPATCH
SAME DAY SERVICE!!!

Ashland, California
HOURS:
MONDAY – FRIDAY 8:30 A.M TO 8:30 P.M
SATURDAY 9:00 A.M – 4:00 P.M
SUNDAY 10:00 A.M – 4:00 P.M
WE ACCEPT: