 Vinyl flooring removal is a time-consuming and labor intensive job that will payoff, if you stay the course. It’s not necessarily complicated but it is time-consuming and requires a lot of hard work to get it done and the right results without causing unintentional damage. It’s easy to cause damage to the subfloor when removing vinyl, usually due to the glue and tools used to pull it up. Not to mention the fact that you’ll need to rent a few tools you might not be familiar with using.
Vinyl Flooring Disposal
Before you start on that vinyl flooring removal project, understand that it’s not like throwing out any household trash. Actually, it’s considered remodeling or construction debris. Meaning, you can’t just put it in the trash bin. So, the local trash collection agency won’t pick it up.
Let’s be clear: It’s no fun to remove vinyl flooring. Peeling up the material itself is no picnic, but the real trial is to get rid of the glue that had been securing the vinyl to the subfloor. The only silver lining here is that while tedious and time-consuming, it’s certainly not complicated to remove vinyl flooring. No special tools or advanced skills are required. It’s really only a matter of elbow grease. —Bob Vila
This means you’ll have to dispose of it properly. In other words, you’ll have to take it the right place to have it disposed of according to environmental laws. Sure, that’s time consuming and that’s why it’s a good idea to bring in a local junk removal company to take care of it for you. This way, you can also offload a bunch of other unwanted stuff.
Walnut Creek Vinyl Flooring Removal Guide
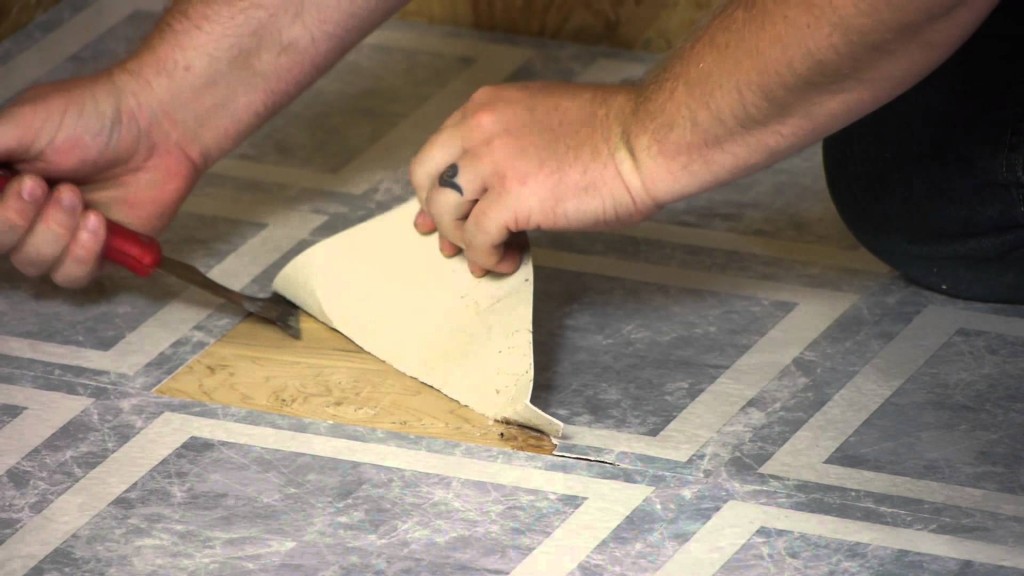
Whatever the reason, understand this won’t be like taking out old carpet. Vinyl or laminate flooring isn’t stretched across the floor and held in place with tacking strips as is carpet. It’s typically glued directly to the subfloor. Here’s a short guide for how to do vinyl flooring removal:
- Start in the corners. The corners are the place to begin when it comes to taking up vinyl flooring. Once you have the corners up, the rest of the job becomes a bit easier.
- Scrape the adhesive off the subfloor. Use a floor scraper to remove the adhesive from the subfloor. Be careful not to gouge into the subfloor or to run the floor scraper into walls or cabinets. Remove any adhesive that does not come up using a scraper with adhesive remover. Follow the manufacturer’s application instructions carefully.
- Take the time to deep clean the subfloor. Sweep the floor thoroughly and then use a shop vacuum to clean up any loose remnants. If adhesive still remains on the subfloor, you’ll have to go ahead and repeat steps above, as necessary to finish it right.
Once you’ve taken up all the vinyl flooring, just phone 800-433-1094 or visit Junk Garbage Removal.