 Wainscoting removal isn’t necessarily difficult. Meaning, it does not require special skills or tools. But, it’s not all that easy because it does require a bit of patience. The reason is when you remove wainscoting, you need to avoid damaging the wall behind it. Otherwise, you create more work and incur an added expense.
Why Wainscoting is Used
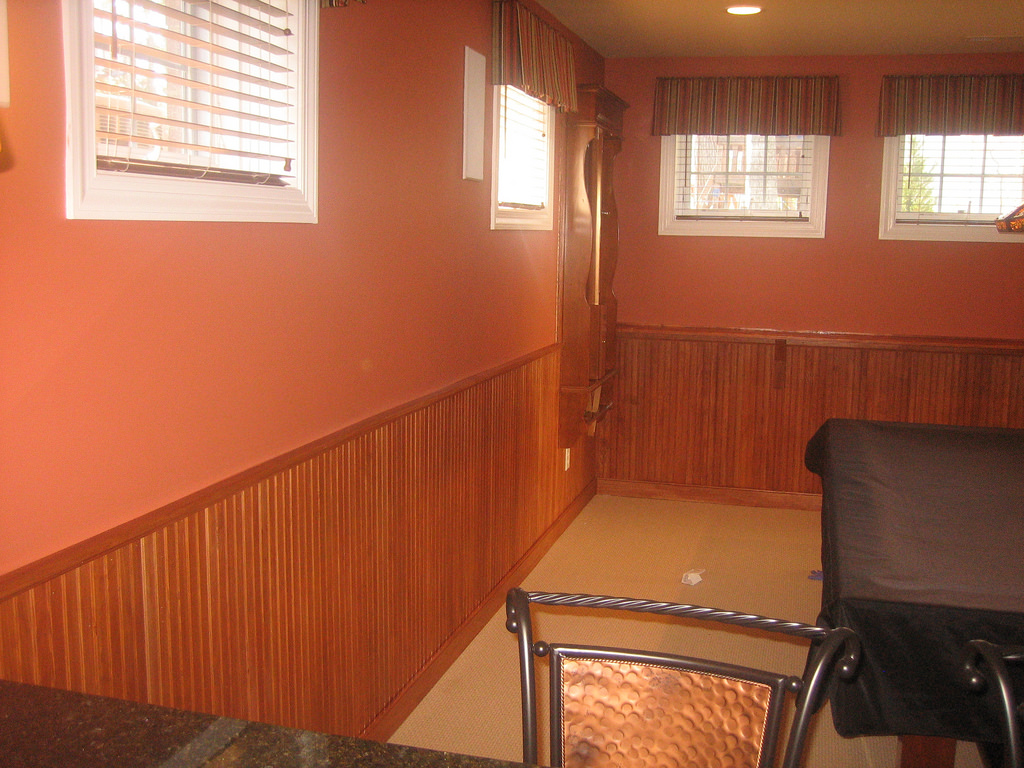
Wainscoting removal is usually an option when remaking a space. It actually dates way back to the 1300s. Then it was used by the Dutch to serve as a protective shield on the bottom portion of plastered walls. Fast forward to the present and you’ll find wainscoting still quite prevalent in residential applications. It’s a common aesthetic or decorative material. Typically, it’s used to give a room a certain look.
Many people choose to err on the side of security when opting for glue instead of nails to hang wood paneling. If they ever have to remove the paneling, however, they may end up regretting their conscientiousness. Not only is the paneling more difficult to remove, glue residue remains on the wall, and it won’t come off without at least some damage to the wall material. —San Francisco Gate
However, like any other material, wainscoting can become worn. Even if it’s not in bad condition, it could well look outdated. Or, it just might be time for a complete change to a room or group of rooms in a house. Whatever the reason, wainscoting removal is a fairly straightforward DIY job.
Wainscoting Removal Made Easy
To start the wainscoting removal process, you’ll need a few common tools. These include a pry bar or claw hammer, utility knife, stud finder, pencil, and wood shim. Each of these are necessary to remove wainscoting from the wall. Once you have your tools ready, follow these simple wainscoting removal steps:
- Cut through the caulk. Typically, wainscoting is nailed to the wall. But, it’s also caulked at the top to prevent moisture from seeping behind and causing discoloration and buckling. Slice through the caulk along the top of the material.
- Find the studs. Next, you’ll locate the wall studs with a stud finder, if the nail heads aren’t visible. Use the pencil to mark the locations of the studs. Then, you can find all the nails that run vertically into the studs to pull them out.
- Remove the railing. After the caulk is cut and the nails are removed, you’ll probably have to pull the railing from the wall. Some wainscoting materials use a combination of railing and panels.
- Detach the baseboards. The baseboards are also usually separate from the railing and panels. Use a pry bar or claw hammer to pull up the baseboards. Do this carefully so you don’t damage the wall and/or floor.
- Pull the panels off. Finally, remove the panels from the wall. Do this as gently as possible because as the panels are pulled away from the wall, it can cause damage to the drywall.
If you need any sort of remodeling debris removal, just phone 800-433-1094 or visit Pro Junk Dispatch.