 When your cabinets become outdated, just look worn, or you’re ready for a change, you don’t have to replace them. Cabinet replacement costs about twice as much as refacing, takes a lot more time, and, you won’t have to deal with the hassle of not being able to use your kitchen.
Refacing is also a great solution for kitchen spaces because you don’t have to measure, order, and then wrangle new fixtures into place. To reface your kitchen cabinets takes only a few basic steps and tools, so in most instances, you won’t have to hire a professional handyman.
How to Reface Cabinets
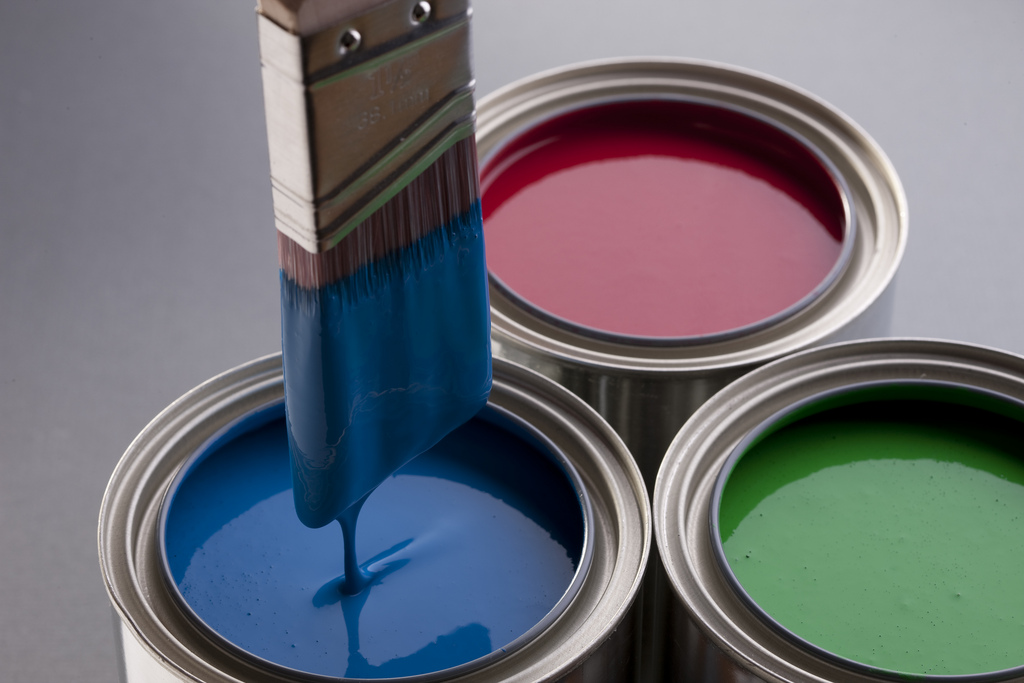
The first thing you need to do is to decide what type of look you want. Veneers and new paint options give you plenty of choice and are usually simple to adhere. The biggest challenge will be keeping the bare cabinets free of dust and debris, which can lead to a lot of extra work or even sabotage the entire project.
Refacing your kitchen cabinets includes covering the exposed frames with a thin veneer of real wood or plastic laminate. Doors and drawer fronts are replaced to match or complement the new veneer. New hinges, knobs, pulls, and molding complete the transformation. —Houselogic.com
When you’re ready to begin, take the doors off their hinges and then remove the hinges from the stiles (the vertical parts of the cabinet frame). Then, put the doors in a dust free space, on top of a clean paint cloth. Once the doors are spread out, follow these steps:
- Remove the pulls. You ought to remove the pulls after detaching the hinges so you can more easily carry the doors into the dust free space. You can also buy new pulls and repurpose the old ones.
- Clean and sand the doors. Using a degreaser, clean the cabinet doors thoroughly to remove any build-up from the surface. (You’ll likely be surprised by how much gunk is stuck to the surface.) Then, gently sand the doors down to the bare surface.
- Fill in any divots. If there are any divots in the wood, fill them in with wood filler and sand after it hardens. Carefully follow the manufacturer’s instructions for the best results.
- Apply the veneer. Next, you can apply adhesive to the stiles and rails of the cabinets, the vertical and horizontal parts of the frame, and then apply the veneer. Thereafter, apply the adhesive and veneer to the doors.
- Let dry and reattach the pulls. Allow the adhesive to bond to the wood and veneer, then attach the pulls. You can then rehang the doors onto the frame to finish. If you want, purchase new hinges and use those to replace the old ones.
If you make a mistake along the way and decide to just replace your cabinets entirely, then phone a junk removal service to dismantle, pickup and haul away your old cabinets. This will be less time consuming and expensive than renting hauling equipment and having to pay a disposal fee at the local landfill.
When you need to remodel and get rid of the debris, go ahead and phone 800-433-1094 or visit Junk Garbage Removal.