Damaged Vinyl Fence Disposal
A total dismantling of a vinyl fence can be done over a weekend or two and will require a few tools. The biggest help will be in manpower. The more people you have to help you tackle a vinyl fence take down, the faster it will go. Be sure to schedule a junk hauling and removal service to come out to pickup and haul off the fence. If you find the project is too cumbersome, a junk hauling service will also be able to tackle this odd job.
Whether you’re replacing or removing your vinyl fence or you just need it out of your way temporarily, you will need to know how to take it apart. Many vinyl fences use a system of notches and routes (a simple insert system) for assembly, and others have screws and brackets you will need to deal with. Disassembling is a simple process that you can do yourself. —Hunker.com
When you’re ready to dismantle your vinyl fence, you’ll need a few tools, which include: chisel, hammer, driver-driver, shovel, as well as leather gloves and eye protection. It’s best to start at one end and work your way to the other, but, depending on how many helpers you have, you can work from both ends and meet in the middle.
Costa Mesa Damaged Vinyl Fence Removal Guide
Now, let’s get onto how to do damaged vinyl fence removal. As mentioned, you’ll need at least one set of helping hands. Along with the help, a few common household tools. Here’s how to go about damaged vinyl fence removal:
- Remove the gate. Start with the gate. Take it off the support posts by unfastening the hinges. (Be sure to keep children and pets inside so they can’t wander off.) Place the gate aside, out-of-the-way.
- Take off the top railing. Remove the cap from the end post, then use the drill-driver to remove the retaining screw that fastens the rail to the end post. Unfasten the retaining screw, then, slide the post toward the next panel. Work the railing up and off the panel.
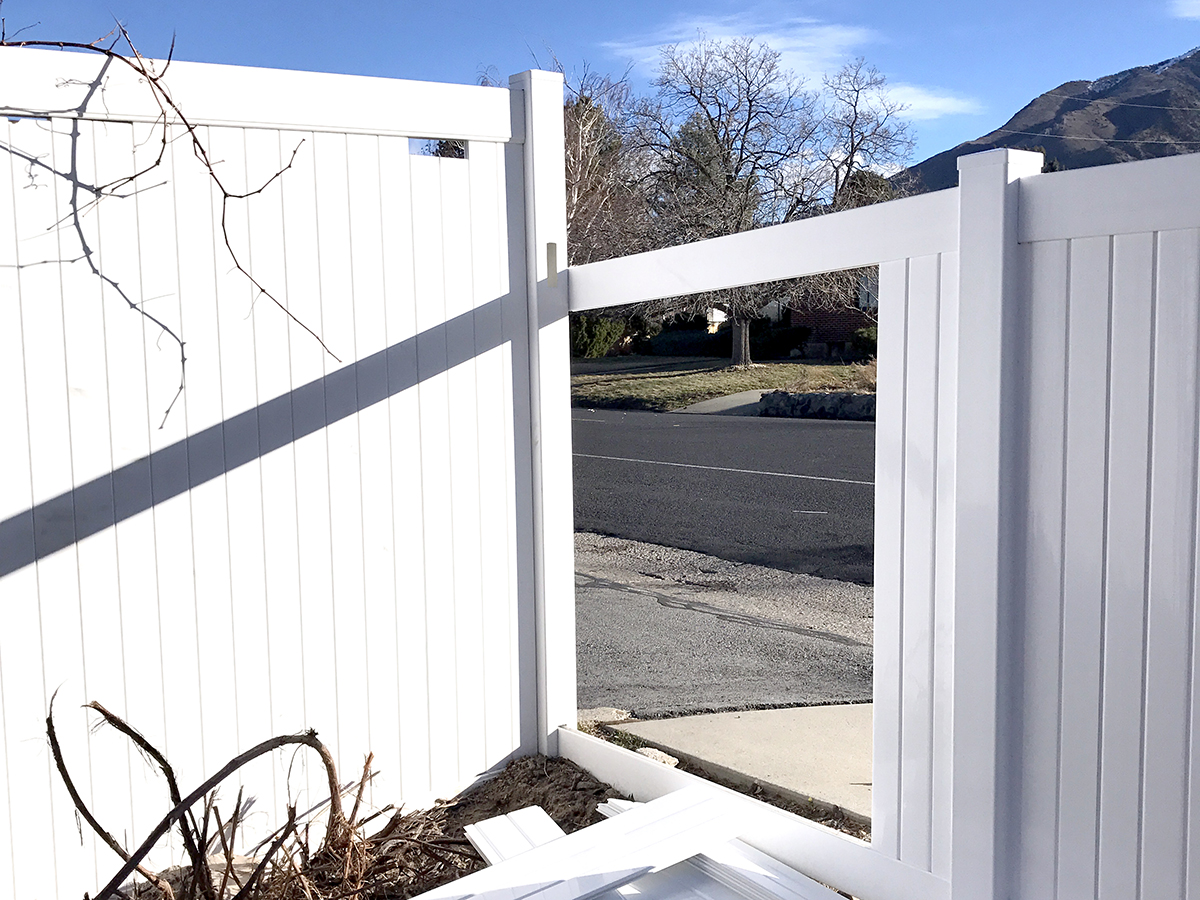
- Pull off the panels from the posts. Next, you’ll need to remove the individual panels, one at a time. As with the gate, pile these out-of-the-way so they aren’t a tripping hazard. If possible, stand them up so critters can’t hide or nest underneath.
- Dig up the fence posts, one-by-one. Lastly, you’ll have to remove the posts one at a time, using a post hole digger. This is the most laborious part of taking down any fence. Generally, posts are buried about two to three feet into the ground, set into concrete.
If you need fence disposal or any other work done, just phone 800-433-1094 or visit Junk Garbage Removal.